- Open iMovie if you have not done so already, you can then either be in an existing movie project or create a new one
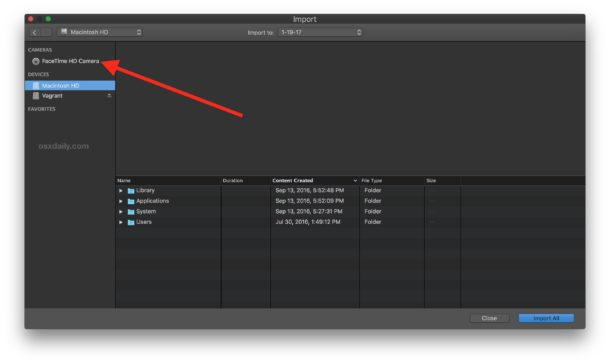
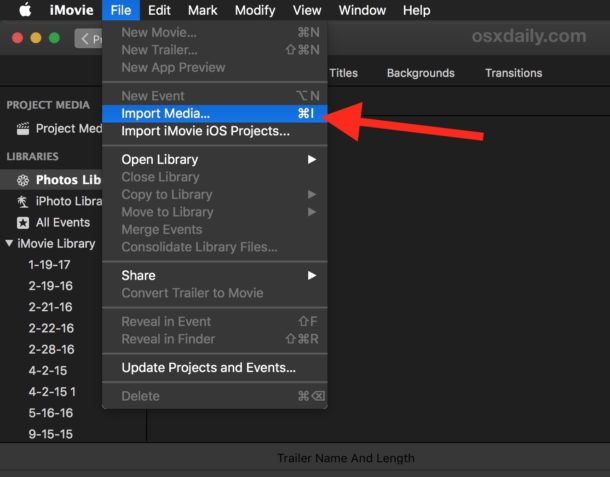
- Go to the “File” menu and choose “Import Media”

- At the “Import” screen choose “FaceTime HD Camera” from the left side menu option under ‘Cameras’
- At the the top of the import screen choose “Import To” and select which project or event you want to record the movie to, then click on the “Record” button to start recording a movie with the FaceTime camera
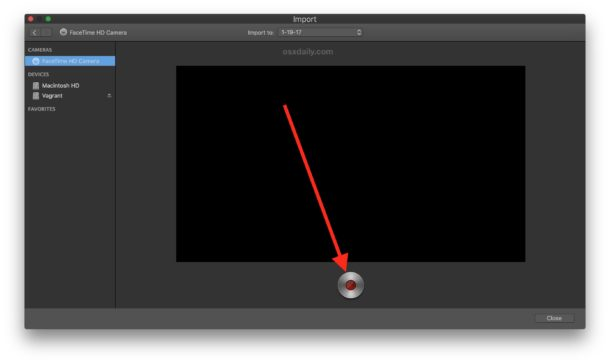
- When finished recording the movie, click on the Record button again to stop recording

- The captured video will now appear as a movie clip in the project event library you chose to import the movie into


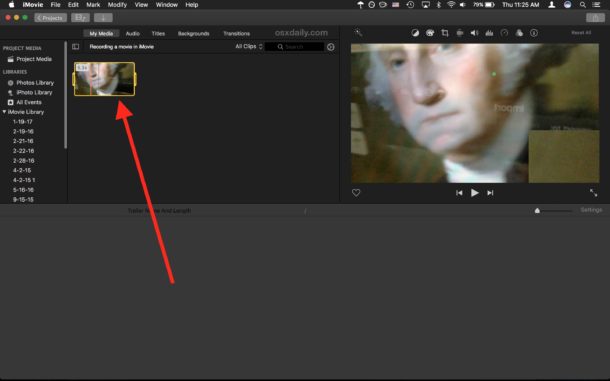
From here you can place the recorded movie into an existing iMovie project, edit the video, or save it.
How to Save the Recorded iMovie as a Movie File
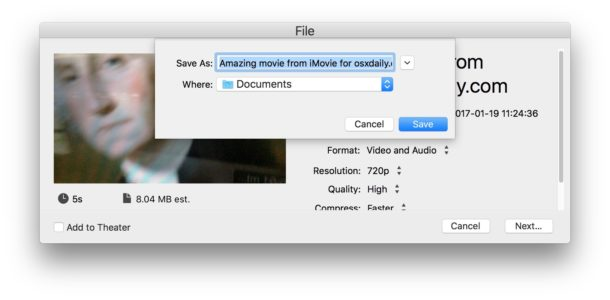
To save the recorded movie from iMovie directly as a file
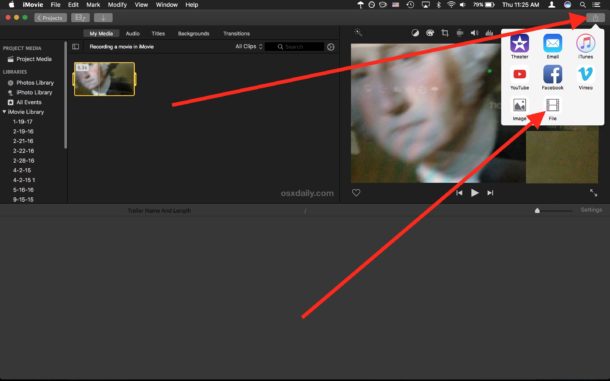
- Choose the Sharing button in the upper right corner of the iMovie window

- Select file, and save it to the folder you want to save it to